


To fix heel slip, use effective lacing techniques. Begin with a standard crisscross lacing pattern for a strong base. Create loops by threading the laces through the top eyelets, forming a loop near the ankle. Cross the laces into the opposite loops to anchor the heel securely. Make certain the laces are snug to prevent circulation issues. Use a double knot, like a reef knot, to finalize for a secure hold. Keep going to learn more strategies for best fit.
Understanding Heel Lock Basics

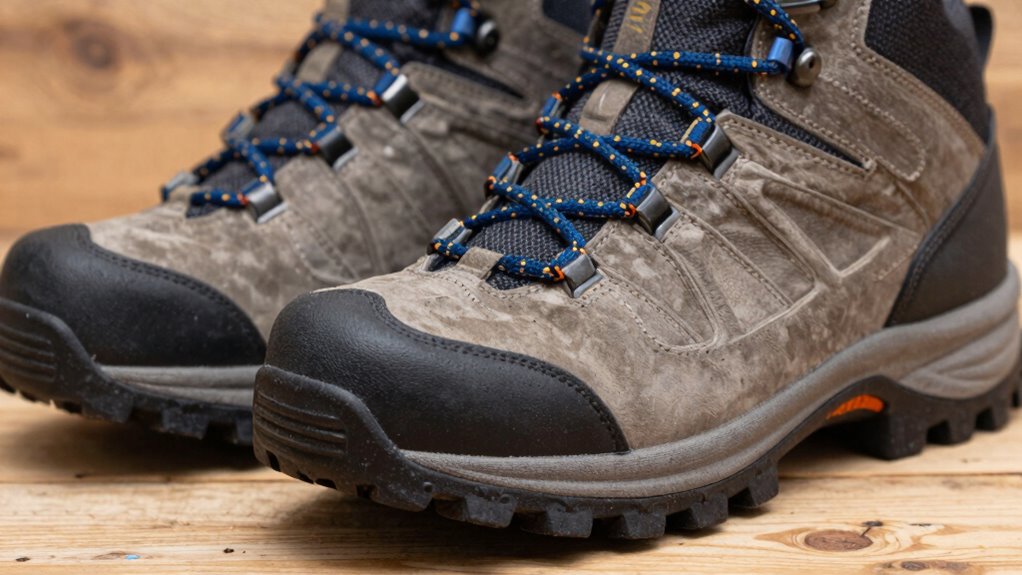
Understanding the basics of heel lock is essential for ensuring a snug fit in your boots and preventing uncomfortable heel slip. This technique keeps your heel securely in place, minimizing movement that can cause blisters and discomfort.
By applying pressure where your foot curves upward to your ankle, you’re able to reduce friction and improve stability, especially beneficial for low-volume or narrow feet.
To execute a heel lock, use lacing techniques that involve skipping the crisscross pattern at the curve point, shifting to quick-lace hooks. Pull the laces upwards to achieve the desired tension without cutting circulation.
This method secures the heel cup and enhances foot stability during uphill or downhill movements. Mastering this will keep your feet comfortable and blister-free.
Standard Crisscross Foundation
The standard crisscross foundation is the go-to lacing technique for many types of footwear, providing both simplicity and comfort. By starting straight across inside the shoe and out through the bottom eyelets, you establish a strong base.
As you weave the laces diagonally through each eyelet pair, the crisscross efficiency guarantees a snug fit, avoiding foot pressure. This method positions the laces to evenly distribute tension across the shoe’s top, enhancing comfort.
The final crossover at the top allows you to tie securely, maintaining the lace position with minimal effort. This traditional technique isn’t only easy to execute but also prevents the thickening of laces from pressing into your foot, making it ideal for everyday wear.
Creating Effective Loops
Building on the foundation of the standard crisscross technique, creating effective loops is a powerful strategy to tackle heel slip.
Start by threading the left lace through the top-left eyelet, forming a loop on the outer side. Repeat with the right lace through the top-right eyelet for a matching loop. These loops should sit close to your ankle joint. This loop formation helps anchor your heel in place.
Next, cross the left lace into the right loop and vice versa. Proper lace tension is essential—pull upwards on both laces to snugly secure them around your heel without cutting off circulation.
This method prevents foot slippage, minimizes blisters, and provides stability, making it ideal for narrow heels or loose shoes. Incorporating proper footwear selection can further enhance comfort and performance, ensuring a secure fit that reduces injury risk.
Crossing and Locking Technique

Mastering the crossing and locking technique can be a game-changer for addressing heel slip issues. Start by using crisscross lacing patterns from the bottom to near the top eyelets. This method secures your heel during motion, reducing instability and accidents.
Crisscross lacing patterns are key to securing your heel, minimizing instability and preventing accidents.
Here’s how to execute it:
- Create Loops: Thread the left lace through the top-left eyelet, forming a loop on the outer side. Repeat on the right side.
- Cross and Thread: Cross the laces and thread each into the opposite loop.
- Pull Tight: Tighten the laces to lock your heel in place.
- Benefits: This technique prevents blisters, minimizes foot sliding, and applies direct pressure for a secure heel lock.
Using this method enhances comfort and stability, especially on uneven terrain. Incorporating strength training into your routine can further reduce the risk of injuries often caused by instability or improper foot mechanics.
Finalizing and Tying Methods
To guarantee a secure knot and eliminate heel slip, start by using a double knot, like a reef knot, which reduces spontaneous loosening.
Test for a super-snug fit by walking around briefly and re-tensioning the laces as needed, focusing on comfort without constricting your foot.
Adjust for comfort by checking pressure points after tying, and use additional techniques like lace-tail management to keep everything neat and secure.
Secure Knot Techniques
When it comes to guaranteeing your laces stay secure all day, understanding various knot techniques is essential.
By mastering knot durability and tension management, you’ll prevent your laces from loosening unexpectedly. Here are some effective techniques:
- Surgeon’s Knot: Wrap the lace twice before tightening, which increases friction and reduces slippage during movement.
- Berluti Knot: This flat, wrapped knot creates a high-tension bow that’s resistant to coming loose while still being easy to untie.
- Double Knot: Use two successive bows to prevent failure of a single bow, ideal for long-distance walking.
- Two-stage Locking: Start with a surgeon’s or heel lock for anchoring tension, then finish with a secure knot to prevent eyelet creep.
These techniques guarantee a firm hold, enhancing your shoe’s stability.
Super-Snug Fit Testing
Securing your laces with the right knot is just one part of ensuring your shoes fit snugly. Testing for a super-snug fit requires evaluating lace tension to prevent heel slip.
Start by using a loop lacing lock, inserting it after cross-lacing your shoe up to the midfoot. This technique doubles the lace tension, offering a secure fit especially for narrow feet. Continue criss-crossing to the top, positioning the loop based on where the heel slip occurs.
For a heel lock, lace snugly over the instep, applying a surgeon’s knot for tension hold. Use a runner’s loop by threading through top eyelets, crossing laces, and pulling tight.
Test by walking—ensure the heel is stable, with no slip, and circulation intact.
Adjusting for Comfort
Although finding the perfect fit can be challenging, adjusting your laces for comfort and security is essential for preventing heel slip.
Focus on maintaining the right lacing tension and accommodating your foot width. Follow these steps to finalize and tie your shoes effectively:
- Heel Lock Loops: Thread each lace through the top eyelets to create loops, then cross and pull tight for a secure fit.
- Surgeon’s Knot: Use a double-overhand knot to maintain tension at the instep, ensuring balance between the forefoot and heel.
- Balanced Knot Tying: After securing the heel lock, finish with a double knot for durability on uneven terrain.
- Alternative Options: Consider elastic lock laces for quick adjustments, providing consistent support without traditional knots.
Incorporating dynamic stretching techniques before putting on your shoes can enhance muscle readiness and reduce the risk of heel slip. Adjusting these elements enhances both comfort and security.
Exploring Variations and Alternatives
Exploring variations and alternatives in lacing techniques can greatly enhance your shoe’s fit and comfort, especially when dealing with heel slip issues.
Discover innovative lacing techniques to improve shoe fit and tackle heel slip problems effectively.
Heel lock variations, such as the high heel-lock, secure the shoe tightly around your ankle, while the low heel-lock focuses tension on the instep, reducing forward foot-slide.
For a custom fit, consider the asymmetric heel-lock, which adjusts tension on either side to address uneven heel movement.
As a lacing alternative, try the crisscross to top then loop-back lock, perfect for capturing narrow heels.
For wide heels, skip the top eyelets to reduce collar tension, or use diagonal relief lacing to create space.
Each method provides unique benefits, allowing you to tailor your shoes to your specific needs.
Evaluating Shoe Fit for Optimal Support
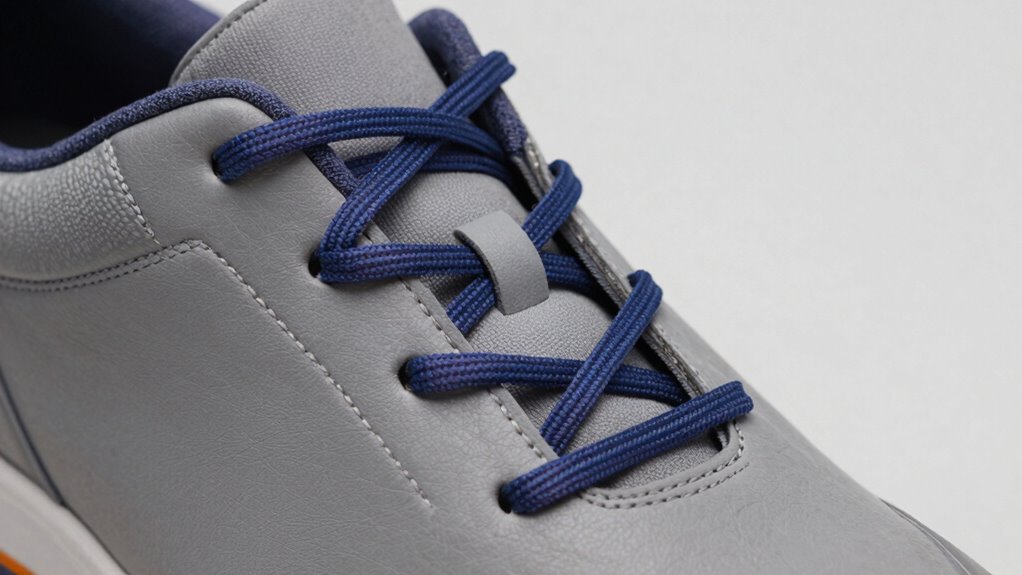
After exploring various lacing techniques to address heel slip, it’s equally important to evaluate your shoe fit for ideal support.
Ensuring your shoes match your foot dimensions and account for dynamic fitting is essential. Consider these key factors:
- Toe Clearance: Aim for 10–15 mm clearance from your longest toe to the shoe interior to prevent discomfort and foot issues.
- Dynamic Adjustments: Recognize that foot dimensions change during movement; incorporate gait-informed fitting to accommodate dynamic foot shape changes.
- Heel Counter: Check for a firm heel counter and appropriate heel cup depth to secure your heel and reduce slip.
- Assessment Tools: Utilize tools like dynamic pressure plates or 3D scanning for a thorough fit evaluation that considers both static and dynamic needs.
- Shoes with adequate cushioning minimize impact on joints during runs, enhancing comfort and reducing the risk of injury.
Wrapping It Up
Mastering heel lock techniques can revolutionize your shoe-wearing experience, making slips a thing of the past. By understanding the basics and applying effective lacing patterns, you’ll hold your foot as securely as a knight’s armor. Experiment with variations to find what best suits your needs, and always evaluate your shoe fit for ideal support. With these strategies, you’ll confidently step into any situation, ensuring your shoes provide the comfort and stability you deserve.