

Shifting from road to trail running over four weeks requires a strategic approach. You’ll want to blend trail sessions with road runs to prevent overuse injuries. Emphasize strength and mobility exercises like split squats and single-leg deadlifts to enhance trail stability. Equip yourself with essential gear like maps and hydration systems for safety. Focus on improving navigation and scrambling techniques for confidence. By understanding injury prevention and recovery skills, you’ll enjoy a seamless shift to successful trail adventures. Seek further insights for an even smoother journey.
Weekly Progression and Adaptation

When shifting from road to trail running, it’s important to implement a structured weekly progression and adaptation plan. Start by incorporating 1–2 trail sessions per week while keeping your other runs on the road. This approach helps manage trail mileage increases and lowers the risk of overuse injuries. Strength training is vital for preventing common running injuries by strengthening often-overlooked muscles critical for running. Aim to boost your trail mileage by no more than 10% weekly or swap one road run for a trail run. Use mixed-surface runs and low-technical trails initially to build confidence. Over the first few weeks, pace adjustments are essential—focus on effort rather than speed, as trails present technical challenges. Plan a down week every 3–4 weeks to support recovery, ensuring a sustainable change and adaptation to trail running’s demands.
Strength and Mobility for Trail Stability
Changing to trail running requires a focus on developing strength and mobility for enhanced stability on varied terrains.
Strength exercises like split squats and single-leg deadlifts are fundamental for mastering uphill and downhill control. Incorporate mobility drills to improve your range of motion, ensuring you can tackle uneven surfaces with ease.
Master uphill and downhill control with strength exercises like split squats and single-leg deadlifts.
Enhance ankle and calf strength through single-leg calf raises, vital for propulsion on climbs and shock absorption during descents. Strengthening your core with dynamic exercises such as pallof presses and woodchops supports balance and load transfer.
Don’t forget lateral stability training with banded lateral walks and clamshells to prevent knee collapse on sloped surfaces. Regular dynamic stretching enhances muscle readiness and helps prevent injuries.
- Single-leg strength: split squats, single-leg deadlifts
- Eccentric strength: Bulgarian split squats
- Core stability: plank variations
- Lateral stability: banded lateral walks
- Ankle strength: single-leg calf raises
Technical Skills for Trail Confidence
Gaining confidence on the trails involves mastering essential technical skills that guarantee both safety and enjoyment on your adventures.
Start by honing navigation techniques: learn to locate key markers such as parking lots and trail junctions on maps, and understand contour lines, where tight lines indicate steep terrain. Regularly match map features to landmarks like distinctive rocks or streams, and use a compass by aligning the needle with north to stay on course.
Develop your scrambling skills by maintaining three points of contact and testing holds before committing your weight. Avoid relying on vegetation as holds and choose stable sections for ascent.
Begin with Class 2 scrambles to build proficiency before progressing to more challenging Class 3 routes.
Gear Essentials for Trail Safety
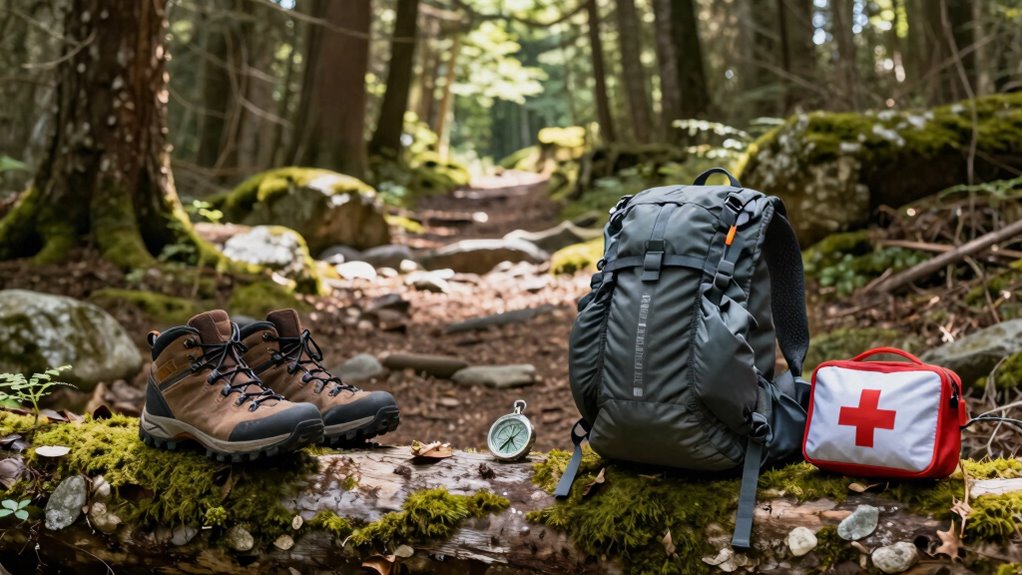
Mastering technical skills on the trail guarantees a safer and more enjoyable hike, but having the right gear is equally important to tackle any outdoor challenge.
Essential gear items enhance your safety and preparedness. Navigation tools like a detailed map, compass, or GPS device guarantee you stay on course, while a satellite communication device or Personal Locator Beacon (PLB) can be a lifesaver in remote areas.
A reliable hydration system, such as a water bottle or portable filtration system, is vital to maintain hydration, especially on longer hikes. Always carry an itinerary, leaving one with a friend and another in your car.
A whistle and signal mirror can attract attention if you’re lost or injured.
- Navigation tools: inReach Mini 2 recommended
- Hydration systems: minimum 2 liters capacity
- Backup itinerary: enhances safety
- Whistle: attracts attention
- Signal mirror: effective if lost
Injury Prevention and Recovery Strategies
While enjoying the thrill of trail running, it’s important to prioritize injury prevention and recovery strategies to guarantee your adventures remain both safe and enjoyable.
Injury awareness starts with understanding common issues like ankle sprains, knee pain, and muscle strains, often stemming from overuse and poor form. Integrate strength training exercises such as squats and lunges to boost stability on uneven terrain.
Recognize common running injuries and strengthen stability with squats and lunges for safer trail adventures.
Proper form, including maintaining a 90-degree arm angle and running lightly, helps reduce impact-related risks. Recovery techniques like dynamic warm-ups, foam rolling, and static stretching are crucial for muscle maintenance.
Incorporate rehabilitation methods such as alternating hot and cold therapy to enhance circulation and reduce inflammation. Educate yourself on recognizing early pain symptoms to adjust training and prevent overuse injuries.
A well-rounded training strategy is essential for minimizing the risk of injuries and ensuring a long-lasting running career.
Wrapping It Up
As you begin your road-to-trail shift, remember that “slow and steady wins the race.” Each week, embrace the progression and adaptation in your journey. Prioritize strength and mobility to guarantee trail stability, and hone your technical skills for confidence. Equip yourself with the right gear for safety, and be proactive about injury prevention and recovery. With dedication and focus, you’ll transform your trail experience, feeling both secure and adventurous on every path you tread.
I only have time for trails after work a couple of days a week. How should I use those runs in a 4-week road-to-trail transition without feeling wrecked the next day?
Use those after-work trail runs as your steadier skill sessions, not your hardest efforts. Start with shorter, controlled outings on familiar, less technical trails so you can focus on footing, balance, and relaxed descending. Keep the effort easy enough that you could repeat the run the next day, since the goal is confidence and stability, not fatigue. As you adapt, gradually make the trails a little more technical or extend the time on them, while keeping your road runs comfortable and supportive of the transition.